|
Google
Earth
Google's free Google Earth
service provides an easy way to get those flying "zoom in from space"
shots that, previously, were the exclusive province of Hollywood
special effects houses. The trick is getting the Google Earth
 display
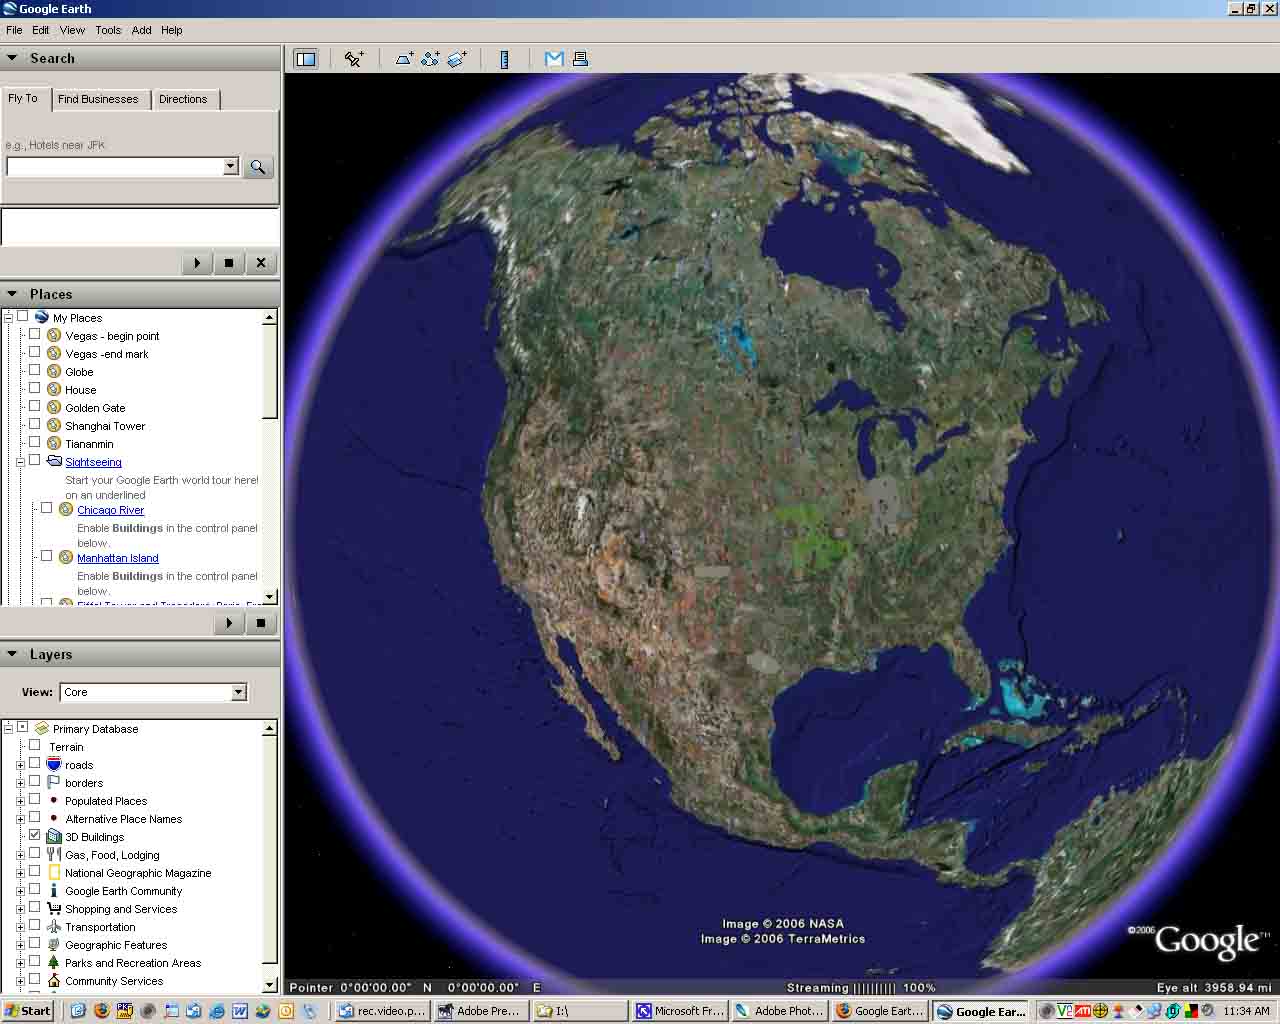
into your video. For my first attempt, I relied on the television
output of my computer's video graphics card. I set the card to
clone the computer desk top to the television output and, by
tweaking the display parameters, was able to crop out most of the
unwanted material, including the control information on the left and
the copyright legends on the image itself. I manipulated
Google Earth manually, zooming in, tilting and panning as necessary.
I captured everything to my camcorder, imported it into Premiere,
and then carefully edited the resulting clip to smooth out the
"camera moves" from the manual manipulation in Google Earth.
Finally, I had to zoom slightly within Premiere to cut out all the
unwanted material. display
into your video. For my first attempt, I relied on the television
output of my computer's video graphics card. I set the card to
clone the computer desk top to the television output and, by
tweaking the display parameters, was able to crop out most of the
unwanted material, including the control information on the left and
the copyright legends on the image itself. I manipulated
Google Earth manually, zooming in, tilting and panning as necessary.
I captured everything to my camcorder, imported it into Premiere,
and then carefully edited the resulting clip to smooth out the
"camera moves" from the manual manipulation in Google Earth.
Finally, I had to zoom slightly within Premiere to cut out all the
unwanted material.
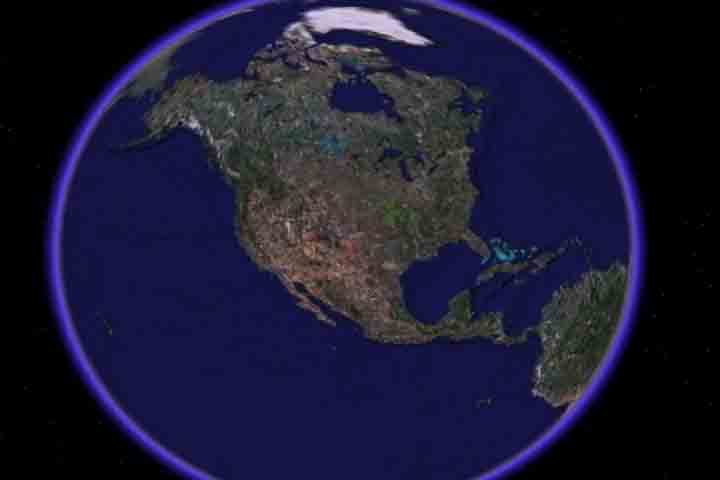
The result wasn't too bad. Click on this picture to see it.
Though I got satisfactory results, the process was awkward and slow,
and some resolution was lost because of the necessity of zooming in slightly to cut out the writing at the top and bottom of the
Google Earth display. Because cursor movement effected the
television "window," I was limited in the kind of camera moves that
I could do, and had to assemble multiple moves from different clips
in Premiere. There had to be a better way.
I experimented with a variety of screen capture programs. The
problem was that, even on my relatively fast computer (a 3.2 GHz
Pentium 4 machine with 1 gigabyte of RAM), the screen capture
programs couldn't keep up with the Google Earth stream and the video
they produced was very jerky. Then I found a program called
FRAPS. Intended to allow
video gamers to capture their play, FRAPS interfaces directly with
Window's DirectX and OpenGL subsystems. It can output its
capture as an AVI file at the standard NTSC video rate of 29.97
frames per second. Though, on my system, it could only manage
a capture rate of 23 frames per second, it did so smoothly and
automatically extrapolated its output to the NTSC standard frame
rate. To produce the video, I set Google Earth to its largest
display size, 1,024 x 1,024. This is necessary to eliminate
the text that Google Earth overlays at the bottom of the screen.
This time, I set placemarks in the Google Earth program, and let the
software do the navigation -- I just clicked on each placemark in
sequence while FRAPs captured the video. Once FRAPS had saved
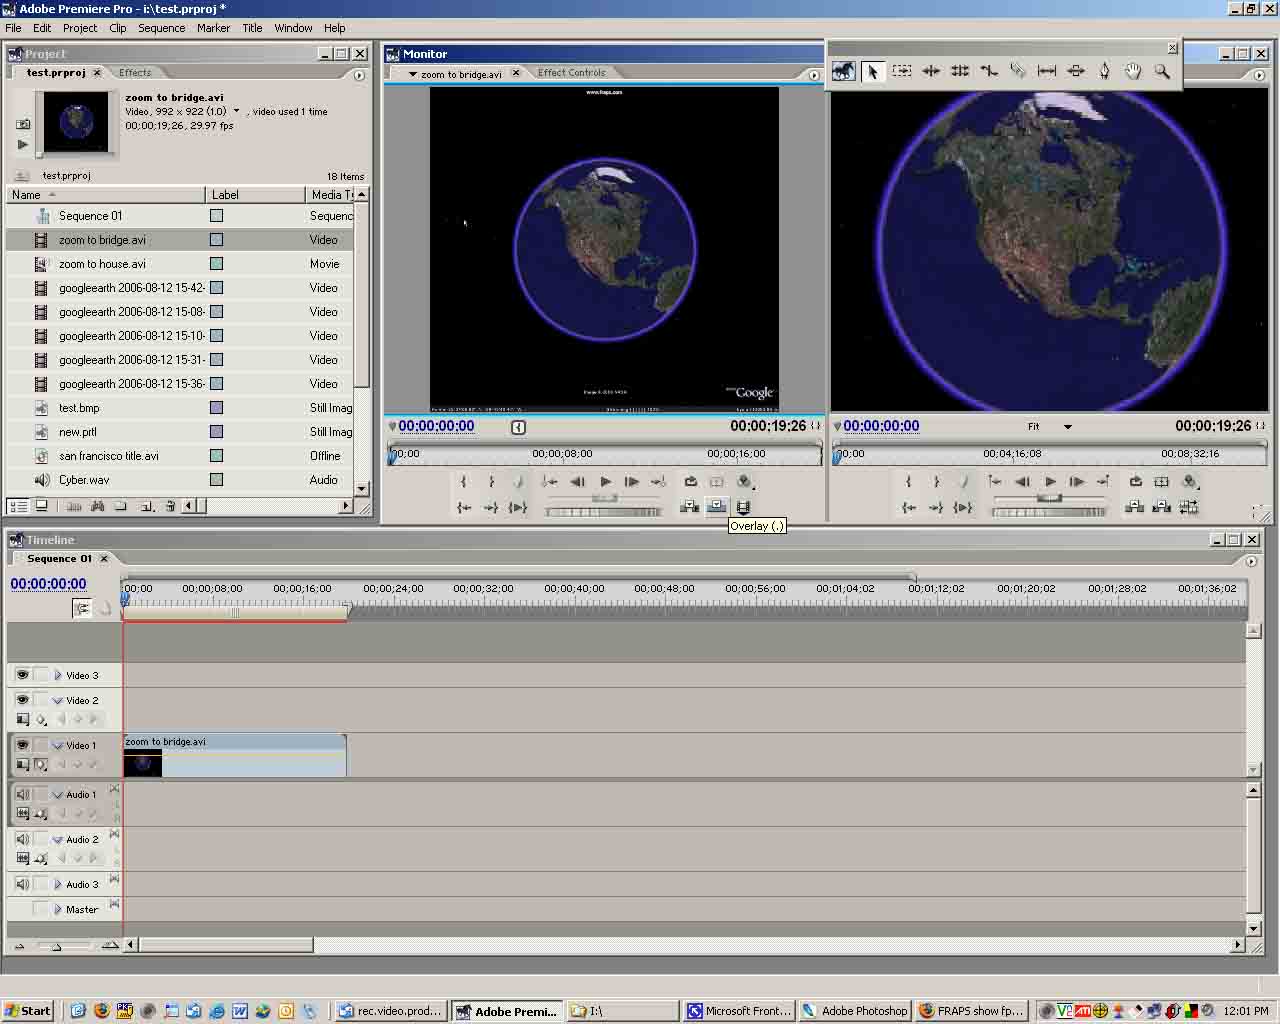
the resulting AVI file, I imported it into Premiere.
Premiere's property screen reports that the frame size is 912 x 912
pixels. This is exactly what we want. Because the
Premiere project parameters are set for the NTSC, Premiere
automatically crops the image to fit the 720 x 480 pixel frame,
eliminating the unwanted printing without losing any resolution:

If too much image is lost, simply use the Motion feature under the
Effect Controls tab to scale the image slightly -- Premiere will
automatically resample, again, without losing any resolution.
The final result was a significant improvement over the
capture-to-tape method I had first tried. The resolution of
the Google Earth display was preserved, and I was able to produce
much more complicated and dramatic camera moves You can see it
here:

|
